Identifying the Source of the Leak

A leaky bathroom ceiling vent can be a frustrating problem, but pinpointing the source of the leak is crucial for effective repairs. Understanding the common causes and implementing a systematic inspection process will help you diagnose the issue accurately.
Common Causes of Bathroom Ceiling Vent Leaks
Several factors can contribute to leaks in bathroom ceiling vents. These include:
- Condensation: Warm, moist air from showers and baths can condense on cold surfaces, like the vent’s interior, leading to water droplets accumulating and dripping. This is particularly common in poorly ventilated bathrooms or during cold weather.
- Plumbing Issues: Leaky pipes, faulty faucets, or even a clogged drain can lead to water seeping into the vent system. These issues can cause water to travel through the vent’s ductwork and drip from the ceiling.
- Roof Damage: A damaged roof, including cracked shingles, missing flashing, or improperly sealed penetrations, can allow rainwater to infiltrate the attic space and drip through the vent.
Visual Inspection
A thorough visual inspection is the first step in identifying the leak’s source. Here’s a step-by-step guide:
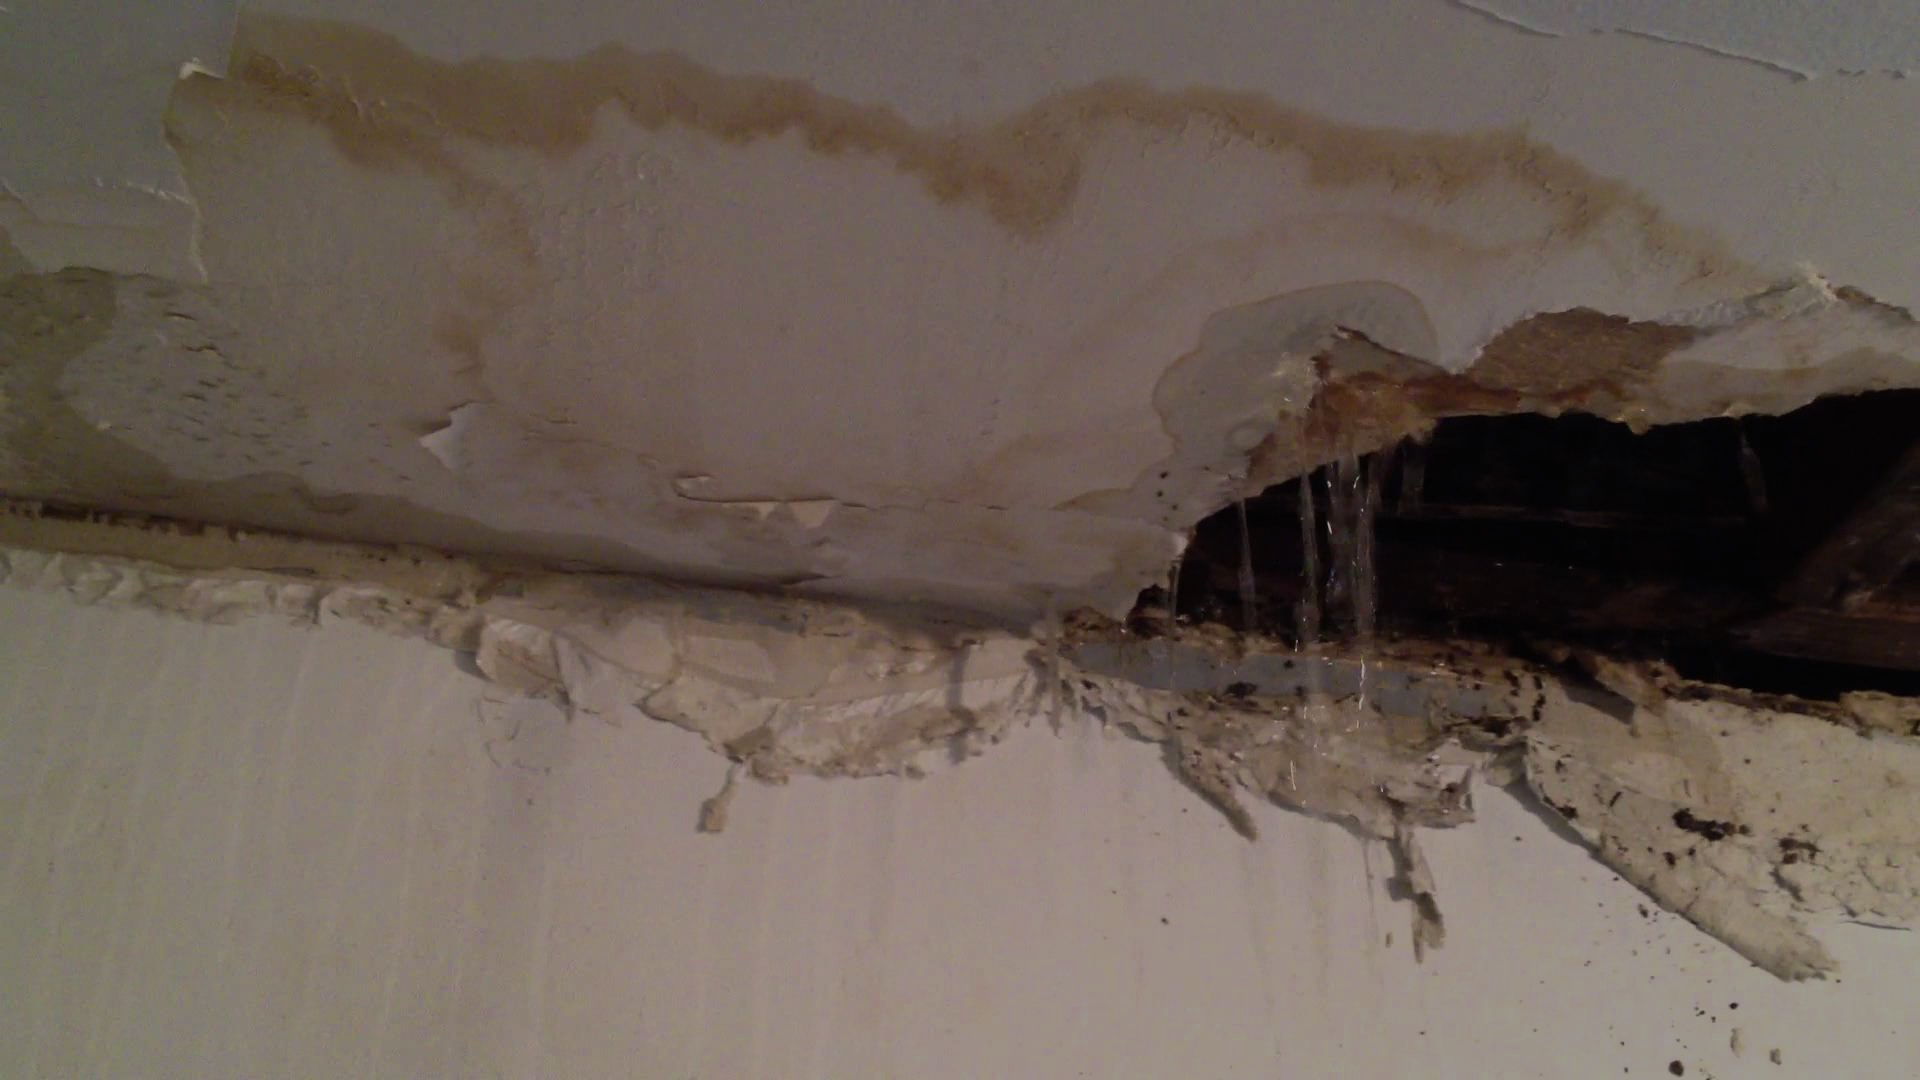
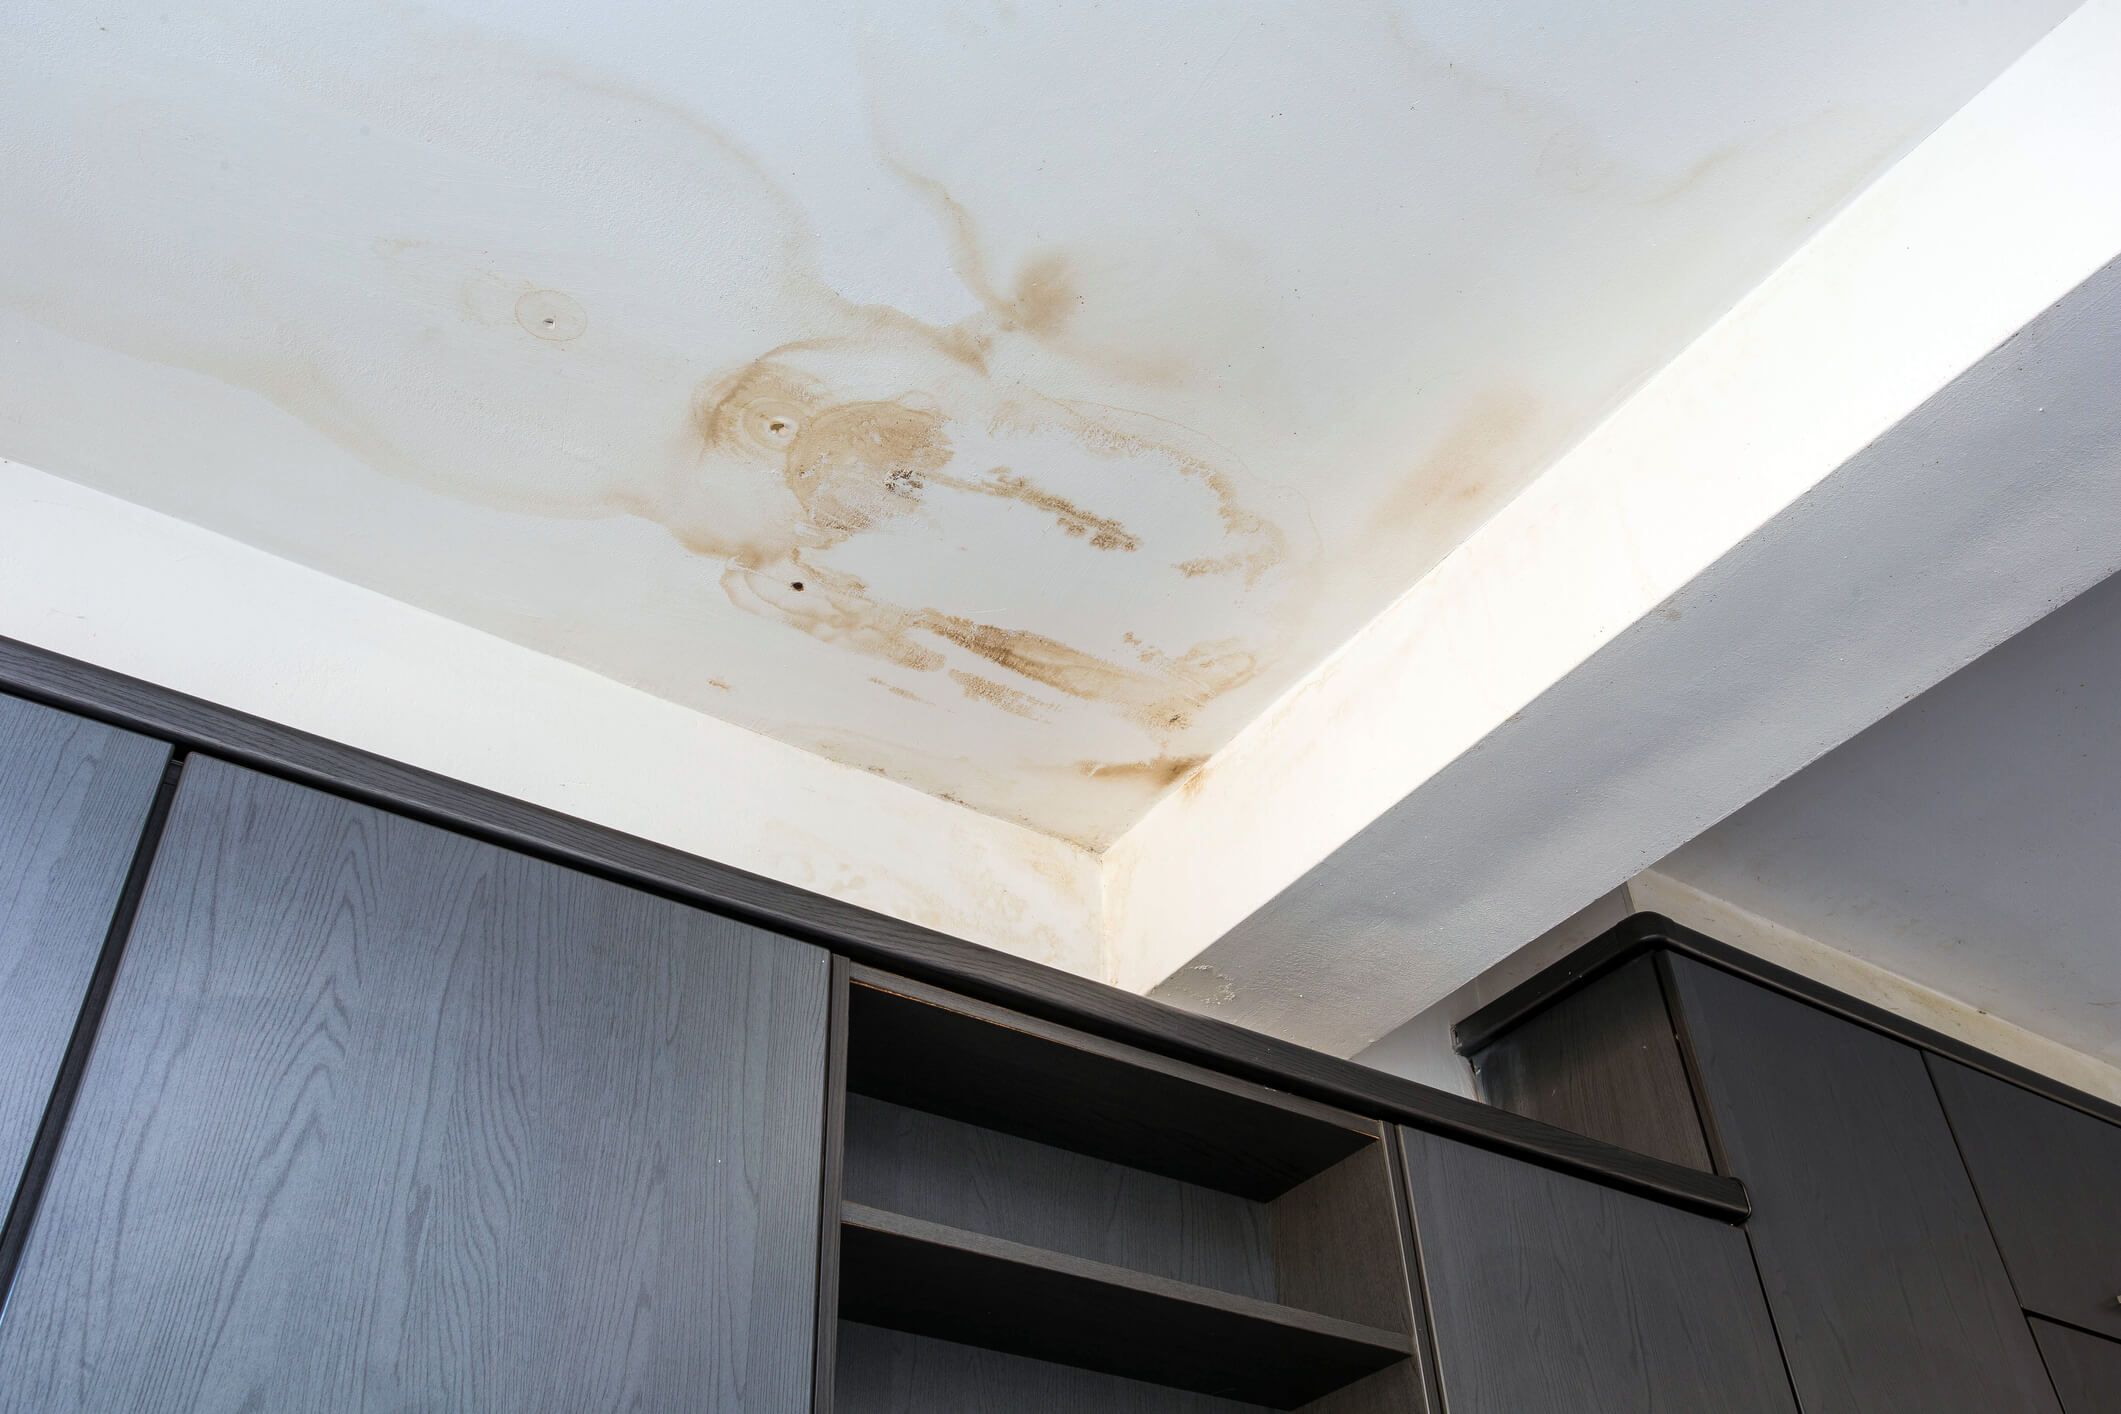
- Inspect the Vent: Start by carefully examining the vent itself. Look for signs of water damage, such as discoloration, warping, or mold growth. Check for any cracks or gaps in the vent’s casing.
- Check the Surroundings: Extend your inspection to the surrounding area, including the walls, ceiling, and attic space if accessible. Look for signs of water stains, dampness, or dripping water.
- Examine the Roof: If you suspect roof damage, inspect the roof from the ground or attic space, if safe. Look for missing or damaged shingles, cracked flashing, or any signs of water penetration.
Using a Moisture Meter
A moisture meter can be a valuable tool for identifying areas of excessive moisture. Here’s how to use it:
- Turn on the Meter: Ensure the moisture meter is calibrated and turned on.
- Test Different Areas: Scan the vent, surrounding walls, ceiling, and any accessible areas of the attic. Note any readings above the normal moisture level for the material being tested.
- Interpret the Readings: Refer to the moisture meter’s manual for interpreting the readings. High readings can indicate a leak or excessive moisture accumulation.
Assessing the Severity of the Leak
A leaking bathroom ceiling vent can have serious consequences, ranging from minor inconveniences to significant damage and health risks. It’s crucial to assess the severity of the leak to determine the urgency of repair and prevent further problems.
Factors Determining Leak Severity
The severity of a leaking bathroom ceiling vent is determined by several factors, including the extent of water damage, the potential for further damage, and the presence of any associated hazards.
- Extent of Water Damage: The amount of water that has leaked and the duration of the leak are crucial factors. Significant water damage can lead to mold growth, structural damage, and damage to electrical wiring. A small leak that has been present for a short period may only require minor repairs, while a large leak that has been present for an extended period may require extensive repairs.
- Potential for Further Damage: The source of the leak and the surrounding environment are important factors. A leak from a broken pipe is more likely to cause significant damage than a leak from a condensation issue. Additionally, if the leak is in an area with exposed electrical wiring, there is a higher risk of electrical hazards.
- Associated Hazards: Mold growth is a significant concern with leaking bathroom ceiling vents. Mold can cause respiratory problems, allergies, and other health issues. Electrical hazards are also a concern if the leak has affected electrical wiring.
Leak Severity Levels and Recommendations
The following table Artikels different leak severity levels and their associated recommendations for action:
| Severity Level | Description | Recommendations |
|---|---|---|
| Minor | Small leak, minimal water damage, no visible mold growth, no electrical hazards. | Repair the leak promptly. Monitor the situation for any signs of worsening damage. |
| Moderate | Moderate leak, some water damage, possible mold growth, no electrical hazards. | Repair the leak immediately. Inspect for mold growth and address it as necessary. |
| Severe | Large leak, significant water damage, extensive mold growth, potential electrical hazards. | Contact a professional plumber and mold remediation specialist immediately. Evacuate the area if necessary. |
Repairing the Leak: Leak In Bathroom Ceiling Vent

Once the source of the leak has been identified and the severity assessed, you can move on to repairing the leak. This process involves addressing the source of the leak, drying out the affected area, and making necessary repairs to restore the vent’s functionality.
Addressing the Source of the Leak
The first step in repairing a leaking bathroom ceiling vent is to address the source of the leak. This will involve identifying the specific point of entry for water and taking steps to seal it. Depending on the source, you may need to:
- Replace damaged pipes: If the leak is coming from a cracked or corroded pipe, you will need to replace the damaged section. This will involve cutting out the damaged portion of the pipe and installing a new section. This process may require professional help, especially if the pipes are located within the wall or ceiling.
- Reseal joints: If the leak is coming from a loose or cracked joint, you will need to reseal it. This can be done with a waterproof sealant or caulk. Make sure to clean the joint thoroughly before applying the sealant.
- Repair roof damage: If the leak is coming from a damaged roof, you will need to repair the damage. This may involve patching a hole, replacing shingles, or sealing a crack. You may need a professional roofer to handle this repair.
Drying Out the Affected Area, Leak in bathroom ceiling vent
Once the source of the leak has been addressed, you will need to dry out the affected area. This is important to prevent mold growth and damage to the ceiling and walls. You can dry out the area using:
- Fans: Use fans to circulate air and speed up the drying process. Point the fans at the affected area and keep them running until the area is completely dry.
- Dehumidifiers: Dehumidifiers can help to remove moisture from the air and accelerate the drying process. Place the dehumidifier in the affected area and run it until the humidity level drops to a comfortable level.
- Air movers: These devices are specifically designed to move air and accelerate the drying process. Place the air mover in the affected area and point it towards the ceiling and walls.
Making Necessary Repairs
After the affected area has dried, you may need to make repairs to the ceiling and walls. These repairs may include:
- Patching holes: If the leak caused holes in the ceiling or walls, you will need to patch them. This can be done using drywall patching compound or spackle. Make sure to apply the patching material in thin layers and allow it to dry completely between layers.
- Replacing damaged drywall: If the leak caused extensive damage to the drywall, you may need to replace it. This will involve cutting out the damaged section of drywall and installing a new piece. You may need a professional to handle this repair.
- Painting: Once the repairs are complete, you may need to paint the ceiling and walls to cover any patching or replacement work.
Tools and Materials
The specific tools and materials you will need to repair a leaking bathroom ceiling vent will depend on the source of the leak and the extent of the damage. However, some common tools and materials include:
- Sealant: Waterproof sealant is used to seal joints and cracks in pipes and other surfaces. Choose a sealant that is specifically designed for use in bathrooms.
- Caulk: Caulk is a flexible sealant that is used to seal gaps and cracks around fixtures and other surfaces. Choose a caulk that is specifically designed for use in bathrooms.
- Patching material: Patching material is used to fill holes and cracks in drywall and other surfaces. Choose a patching material that is specifically designed for use in bathrooms.
- Drywall screws: Drywall screws are used to secure drywall to the framing.
- Drywall tape: Drywall tape is used to reinforce the joints between drywall panels.
- Paint: Paint is used to cover any patching or replacement work.
- Primer: Primer is used to prepare the surface for painting.
- Gloves: Wear gloves to protect your hands from dirt, chemicals, and moisture.
- Safety glasses: Wear safety glasses to protect your eyes from debris and chemicals.
- Dust mask: Wear a dust mask to protect your lungs from dust and debris.
Choosing the Appropriate Repair Method
The repair method you choose will depend on the source of the leak and the extent of the damage. Here is a flowchart illustrating the decision-making process:
Is the leak coming from a pipe?
Yes: Replace the damaged pipe.
No: Is the leak coming from a joint?
Yes: Reseal the joint.
No: Is the leak coming from the roof?
Yes: Repair the roof damage.
No: The leak may be coming from a different source. Consult a professional.
